

Article: How to Blow-Dry Hair for More Volume at Home
How to Blow-Dry Hair for More Volume at Home
Long-lasting volume starts before styling product. A good blow-dry creates lift at the roots and builds the shape that paste, powder, or hairspray will hold. With the right direction, heat, and brush technique, you can make flat hair look fuller without piling on product.
What you need
- A blow dryer with controllable heat and airflow
- A vent brush, round brush, or both
- A lightweight heat protectant or pre-styler
- A finishing product suited to your desired hold
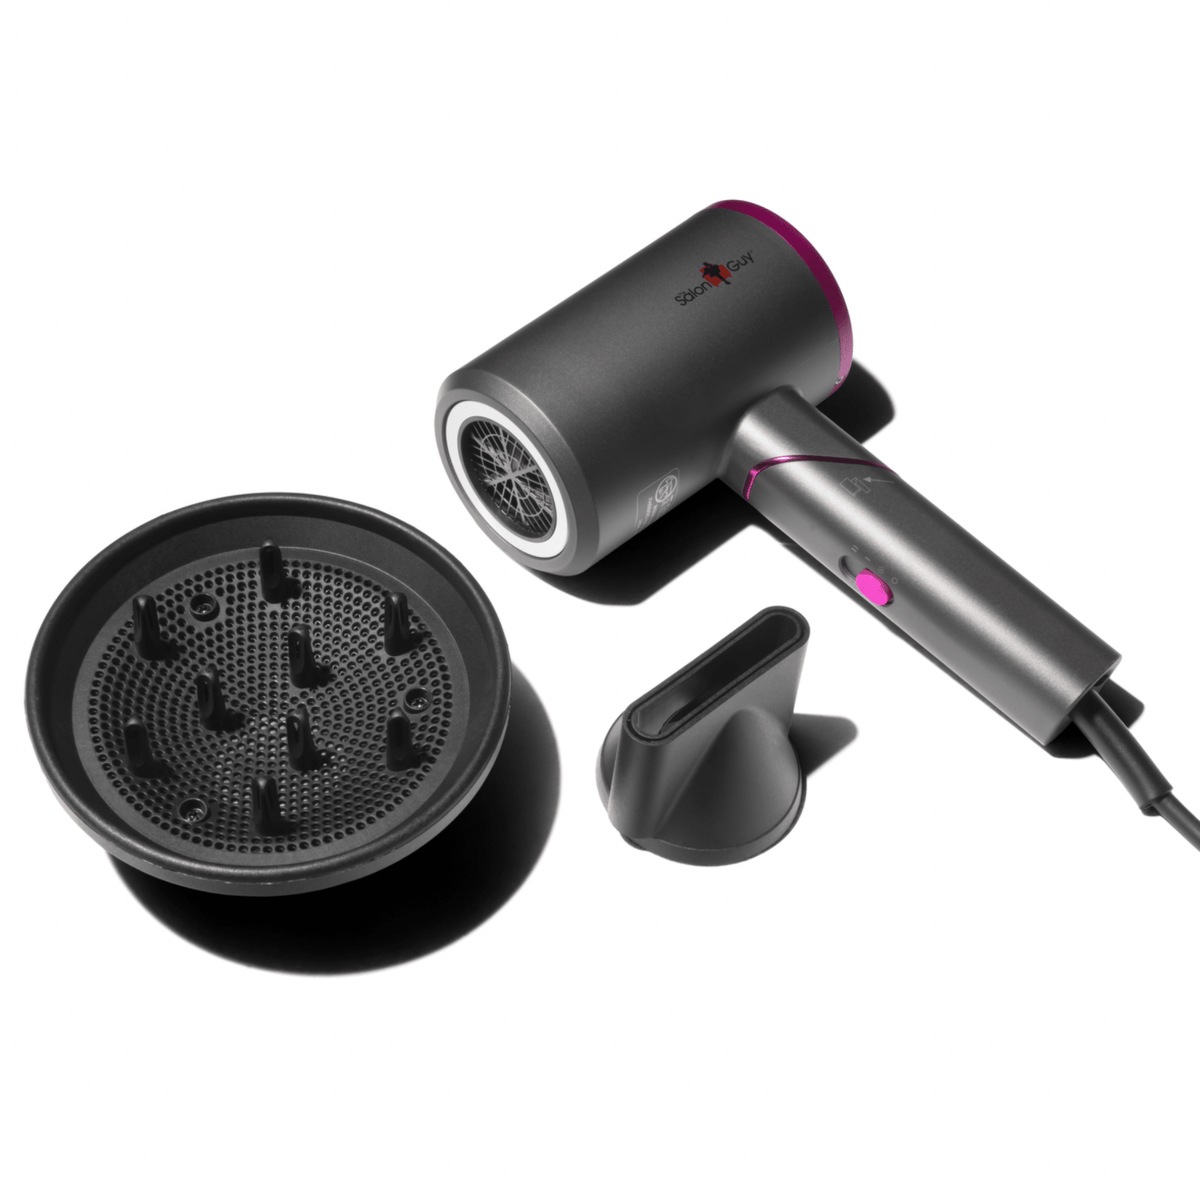
The TheSalonGuy Ionic Hair Dryer provides the airflow needed to dry and shape the hair. For more bend and polish, pair it with the 2-inch Ion Ceramic Round Brush or the larger 2.5-inch Ion Infused Ceramic Round Brush.
Step 1: Start with damp, not soaking-wet, hair
Blot your hair with a towel until it is damp. Avoid rough rubbing, which can create frizz and unnecessary tangling. Removing excess water first shortens drying time and reduces prolonged heat exposure.
Step 2: Apply a lightweight pre-styler
Distribute a small amount of heat protectant or volumizing pre-styler through the hair. Keep heavy creams and oils away from fine roots because they can work against lift.
Step 3: Dry against the natural fall
Hair gains volume when it cools in a lifted position. Use your fingers or brush to move the roots in the opposite direction from where they normally lie. Direct airflow at the roots while keeping the dryer moving.
For a side part, dry the top briefly toward the opposite side before guiding it back into place. For a quiff, direct the front upward and back. For all-over fullness, alternate directions as you dry.
Step 4: Choose the right brush
- Vent brush: Best for speed, natural lift, and loose everyday shape.
- 2-inch round brush: Offers more control and bend on short-to-medium lengths.
- 2.5-inch round brush: Creates a broader curve and smoother volume on longer sections.
Step 5: Use a round brush for polished volume
- Separate a manageable section of hair.
- Place the brush underneath near the roots.
- Lift the section away from the scalp.
- Aim the dryer along the hair shaft rather than directly at the scalp.
- Rotate or pull the brush slowly while following it with the dryer.
- Let the section cool briefly before releasing it.
Step 6: Focus on the front and crown
You do not need maximum lift everywhere. Concentrate on the front hairline and crown because those areas define the silhouette. Keep the sides controlled so the finished style looks intentional rather than puffy.
Step 7: Lock in the shape with cool air
Once a section is dry and positioned correctly, use cooler air for a few seconds. Cooling helps the hair retain the shape created by the brush and heat.
Step 8: Finish without crushing the volume
Warm a small amount of styling product between your hands. Apply from back to front and work lightly through the roots and mid-lengths. Avoid pressing flat across the top. Use your fingertips to separate and refine the final shape.
Common blow-drying mistakes
- Trying to style hair while it is still soaking wet
- Pointing airflow randomly and creating frizz
- Using maximum heat too close to the scalp
- Drying the hair flat in its natural direction
- Using a brush section that is too large to control
- Adding heavy finishing product before the shape is built
Build better volume at home
Start with the Ionic Hair Dryer, then choose the 2-inch round brush for tighter control or the 2.5-inch round brush for broader, smoother volume.

Leave a comment
This site is protected by hCaptcha and the hCaptcha Privacy Policy and Terms of Service apply.